#
Custom Characters
#
Adding your assets
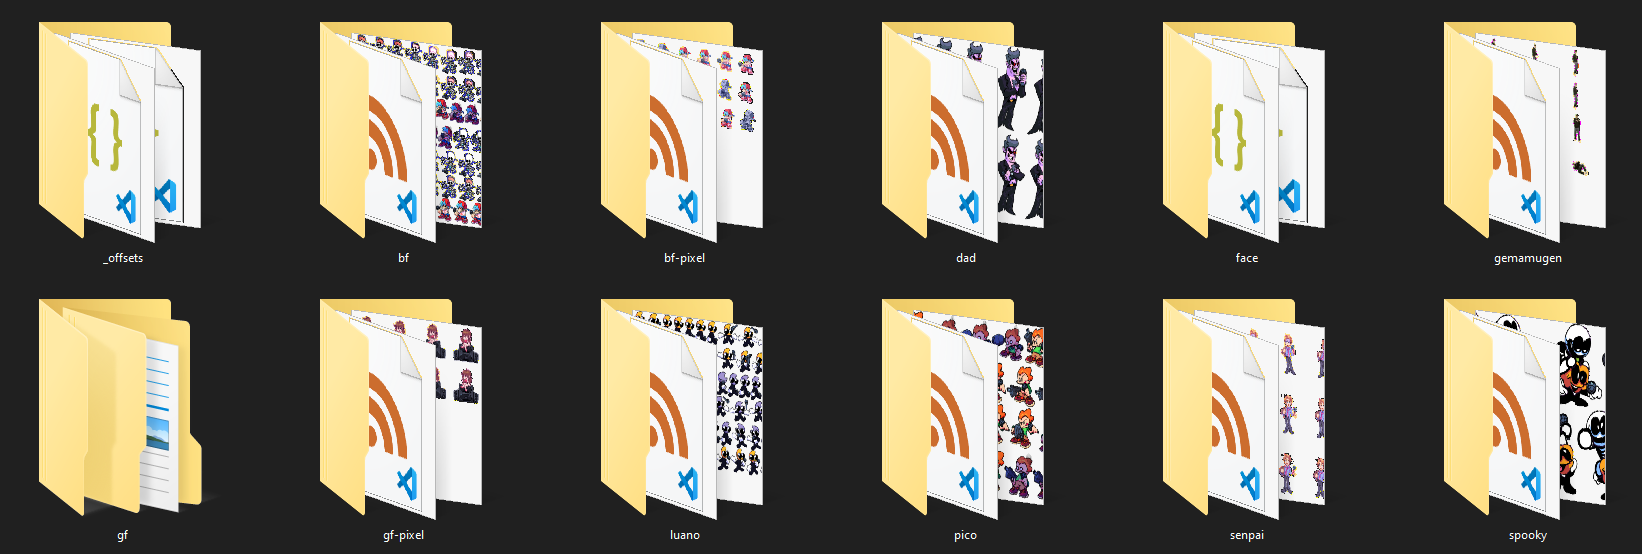
Firstly, place your character in their own folder in assets/images/characters/. You aren't required to make a new folder but it helps organizing so we recommend you do so!
After that, place their icon in assets/images/icons/ with the name icon-YOUR_CHARACTER_NAME.
Every character has a json file that holds their animation offsets, aswell as global, camera and rating positions. These are named after the character (Ex. bf.json) and are located in assets/images/_offsets/. These are made with the engine's Character Editor.
#
Coding your characters
Code for the characters is handled by Character.hx, which is situated in the gameObjects Source folder. For more info on how the Source folder is structured, click here.
#
Basic code
To add your new character, you need to add a new case to the switch statement around line 54. Here's the basis on how it works. Feel free to copy this into your code and edit it accordingly.
case "character":
	doidoChar.spritesheet += 'character/sprite';
	doidoChar.anims = [
		["idle", 	 'idle', 24, true],

		["singLEFT", 'left', 24, false],
		["singDOWN", 'down', 24, false],
		["singUP",   'up', 	 24, false],
		["singRIGHT",'right',24, false],
	];
#
Animations
The anims array works under this format. You can use this as a reference to add custom animations.
[ANIMATION_NAME, ANIMATION_PREFIX,FRAMERATE,LOOPED,[FRAMES]]ANIMATION_NAMEis what you want to name your animation inside the gameANIMATION_PREFIXis what your animation is called in it's .xml spritesheetFRAMERATEis what framerate the animation is gonna play at (we recommend you use 24)LOOPEDdecides if the animation should loop when it reaches the end (for singing or other mid-song animations, set this to false)[FRAMES]is an array of which frames of the animation should be played. Normally you can leave this out but this is useful for GF/speaker type characters.
#
Other variables / functions
Your character might need other variables to make it work right.
- The
scaleof a character can be changed withscale.set(width,height); - Like other engines, if your character is facing the left (Like BF or Pico), you should set
flipXto true. idleAnimsallows you to change which idle animation(s) the character uses. For example, Skid and Pump use["danceLeft", "danceRight"]to give them their dance. If you have more than one idle anim, you should setquickDancerto true.isPixelSpriteis used to determine if a character is Pixel Art or not. It forcesantialiasingto be turned off in your character, whether it's enabled in the options or not. Use this for characters like Senpai or BF-PixeldeathCharallows you to set a separate character as a death sprite.spriteTypedetermines what type of sprite is used. Set this toATLASSprite format guide is in the works so please be patient!invertDirection(axis)inverts the current directions. Useful for characters that are used both for the opponent and the player sidepauseAnim()pauses the current animationanimExists(animName)throws true ifanimNameis a valid animation for this character
#
Adding your character to the charList
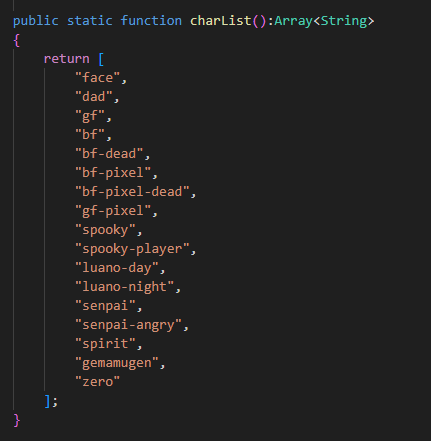
charList() function.
#
Finalize Character
The final steps to making a character are to edit their offsets and to configure their Health Icon.